Bituminous membrane performance depends as much on installation quality as on product selection. Even a technically high-quality membrane can fail if system continuity is lost during application.
The substrate should be clean, sound and suitable. Dust, loose material, oil and sharp projections should be removed.
Where specified, a bituminous primer is applied and allowed to dry appropriately before membrane installation.
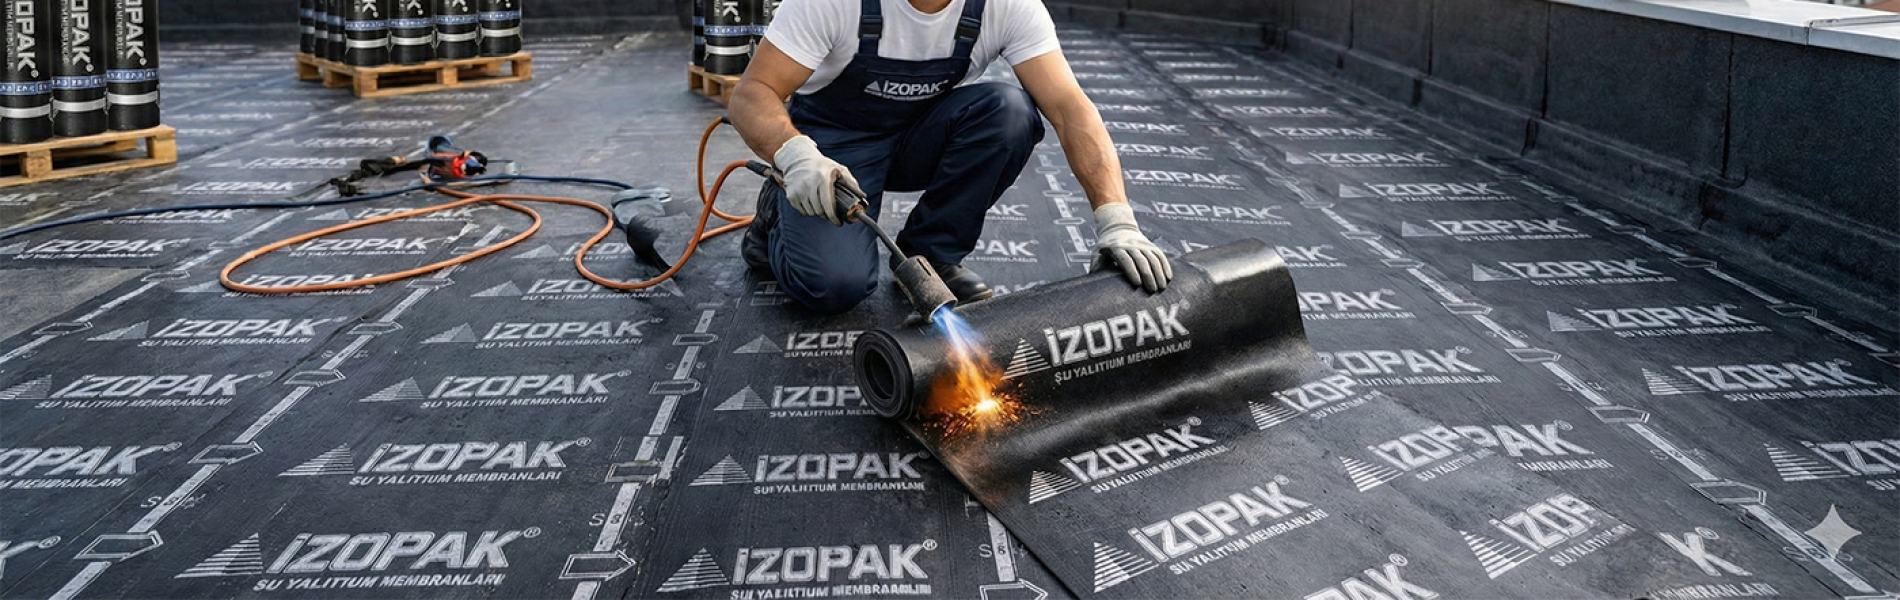
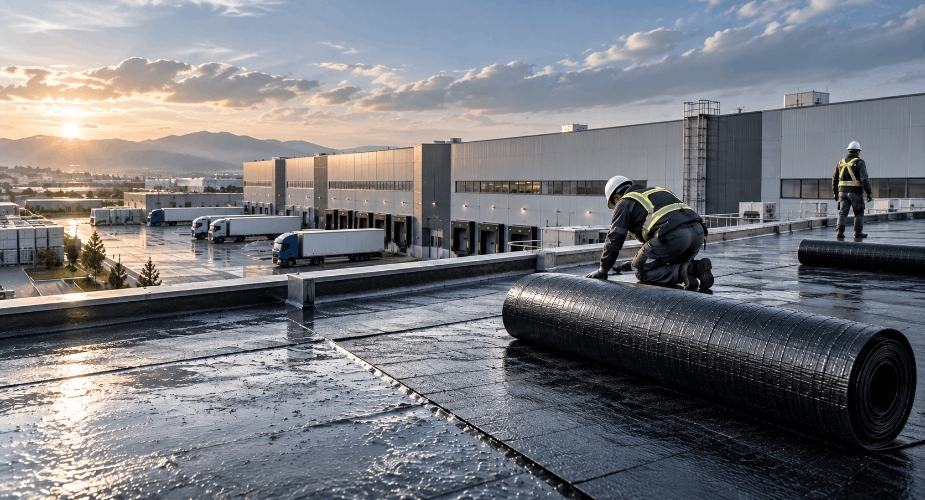
Rolls are laid out according to the installation direction and overlap requirements.
In torch-applied systems, the underside of the membrane is heated in a controlled manner. Excessive or insufficient heating can reduce installation quality.
Membrane joints are critical and should be inspected to confirm proper bonding and continuity.
Parapets, drains, pipe penetrations and corners often require special detailing.
Below-ground membranes should be protected during backfilling, while roof and terrace systems should be protected during subsequent works.
To achieve the expected performance from İzopak products, installation should follow product and project requirements. Professional site management by construction and application companies such as Topak İnşaat can help support consistent system quality.
Every stage, from substrate preparation to final inspection, contributes to the long-term reliability of a bituminous membrane system.